“Ever spent hours Googling how to fix a broken window only to end up with duct tape and regret? Yeah, we’ve all been there.”
Vandalism insurance is that unsung hero in your policy—until it’s not. Whether it’s graffiti on your garage door or a shattered window, the real question becomes: do you shell out cash for a pro repair, or can you roll up your sleeves and DIY it?
In this blog, we’ll dive deep into why having access to DIY repair guides could save you both time and money when dealing with vandalism claims. From step-by-step tutorials to actionable tips (and even a rant about those overpriced repair quotes), you’ll walk away knowing how to navigate this financial hurdle like a pro.
Preview: We’ll cover vandalism claim basics, step-by-step DIY repair strategies, best practices for documenting damage, and real-world examples of successful saves. Plus, FAQs and an Easter egg at the end—because nostalgia matters.
Table of Contents
- Why Vandalism Insurance Matters
- Step-by-Step: Using DIY Repair Guides Effectively
- Tips to Master Your DIY Approach
- Real-Life Success Stories
- Frequently Asked Questions About DIY Repairs & Vandalism Insurance
- Final Thoughts: Save Money, Stay Sane
Key Takeaways
- DIY repair guides empower homeowners to tackle minor vandalism repairs without breaking the bank.
- Proper documentation is key to maximizing your vandalism insurance claims.
- Not every repair should be DIY’d—know when to call in the pros.
Why Vandalism Insurance Matters

Vandalism happens more often than you’d think. According to FBI statistics, property crimes cost Americans billions annually—and yes, vandalism falls under that umbrella. So what does vandalism insurance actually cover? It typically protects against intentional acts such as broken windows, spray-painted walls, or damaged doors.
The Optimist You: “I’ve got coverage—I’m golden!”
The Grumpy You: “Golden? Not so fast.”
Here’s the harsh truth: while vandalism insurance covers damages, it doesn’t always cover labor costs unless explicitly stated. For instance, if someone spray paints your fence, the materials might be covered—but hiring a professional painter? That’s on you.
This is where DIY repair guides come into play. Imagine slashing your repair bill by learning simple fixes yourself instead of paying top dollar for contractors.
Step-by-Step: Using DIY Repair Guides Effectively
Step 1: Assess the Damage
Before scrolling through any guide, assess the scale of the problem:
- Take Photos: Snap high-resolution images from multiple angles. Documentation is critical for both your insurer and following along with repair instructions later.
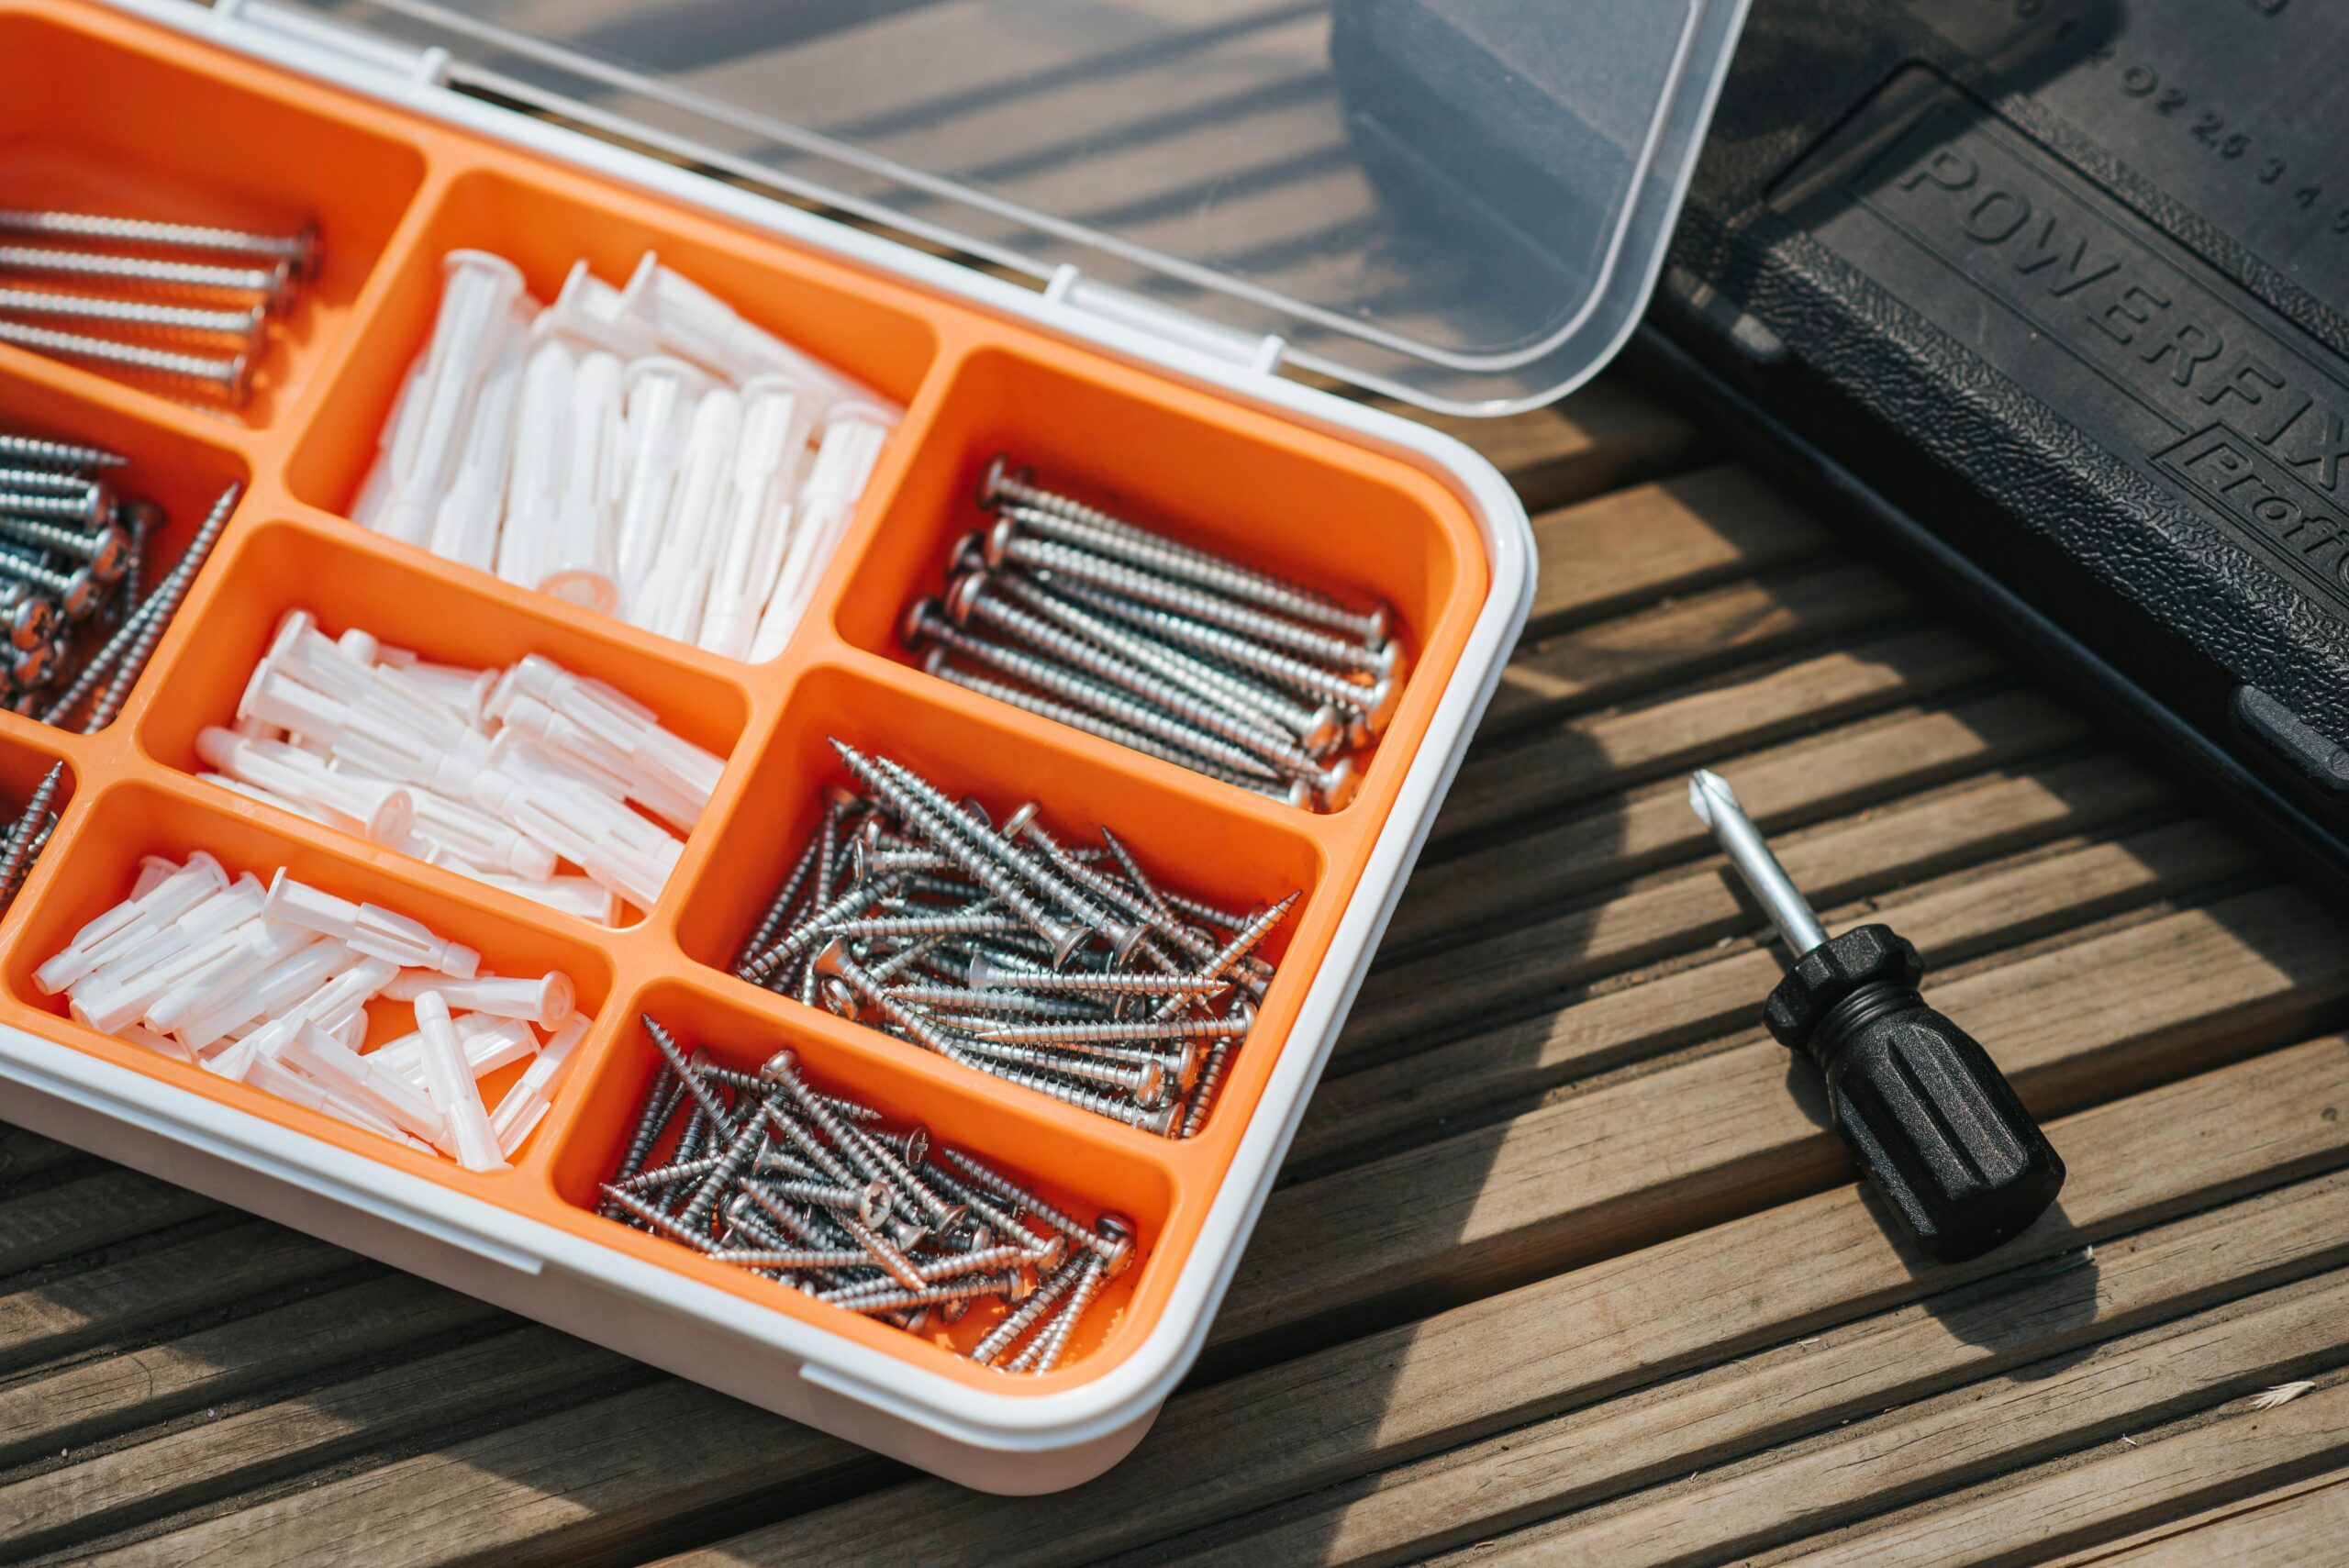
- List Materials Needed: Identify exactly what needs fixing—glass panes, metal parts, paint surfaces, etc.
- Prioritize Safety: Wear gloves, goggles, and masks if handling sharp objects or chemicals.
Step 2: Research Trusted Guides
Look for reputable resources tailored to specific tasks. Websites like Home Depot’s DIY section or YouTube channels dedicated to home improvement are great starting points.
Step 3: Follow Instructions Thoroughly
Treat each guide like a recipe. If it says sand before painting, don’t skip ahead because “you’re lazy.” Grumpy me says skipping steps is asking for trouble down the road.
Pro Tip:
Keep a clipboard nearby during repairs. Jot down observations (“The new sealant cured quicker than expected”) that may help justify expenses later if disputed by insurers.
Tips to Master Your DIY Approach
If you’re ready to channel your inner Bob Vila, here are some must-follow tips:
- Don’t Wing It: Even small jobs require planning. Prep work ensures smoother execution.
- Invest in Quality Tools: A cheap hammer will break halfway through the job—it’s science! Instead, buy reliable tools one piece at a time.
- Avoid These Terrible Tips: Never use super glue to fix glass cracks. Yes, people try this; no, it never works.
Rant Section Alert! Why are contractor quotes so absurdly high these days? Once upon a time, I paid $500 for a busted garage door panel replacement. Guess what? Most guides online show you how to replace panels yourself for less than half that amount. Ugh!
Real-Life Success Stories
We scoured forums and found inspiring tales from individuals who embraced DIY repair culture after vandalism incidents:
- Case Study #1: Maria, a teacher in Chicago, fixed her graffiti-covered fence using online tutorials. Total cost? $45. Estimated contractor fee? Closer to $500.
- Case Study #2: Joe from Texas replaced his shattered bay window pane. With guidance from a YouTube video, he saved nearly $750 compared to hiring a glazier.
Frequently Asked Questions About DIY Repairs & Vandalism Insurance
Q: Will my vandalism insurance pay for DIY repairs?
No, most policies won’t reimburse solely for materials unless specified. However, submitting receipts proves transparency.
Q: Can poor-quality DIY jobs impact future claims?
Absolutely. Shoddy craftsmanship can lead to denied claims if deemed substandard by adjusters.
Q: Are there risks involved in doing things myself?
Yes. Structural integrity issues, like faulty wiring or plumbing, should always involve licensed experts.
Final Thoughts: Save Money, Stay Sane
To wrap up: navigating vandalism insurance gets easier with DIY prowess. From assessing damage correctly to executing precise repairs via trusted guides, taking charge of minor fixes empowers you financially and mentally.
Remember: DIY isn’t just about saving money—it’s about reclaiming control. Now go forth and conquer!
Bonus Haiku:
Broken windows mend,
With hands steady, hope restored.
Like piecing Legos.